

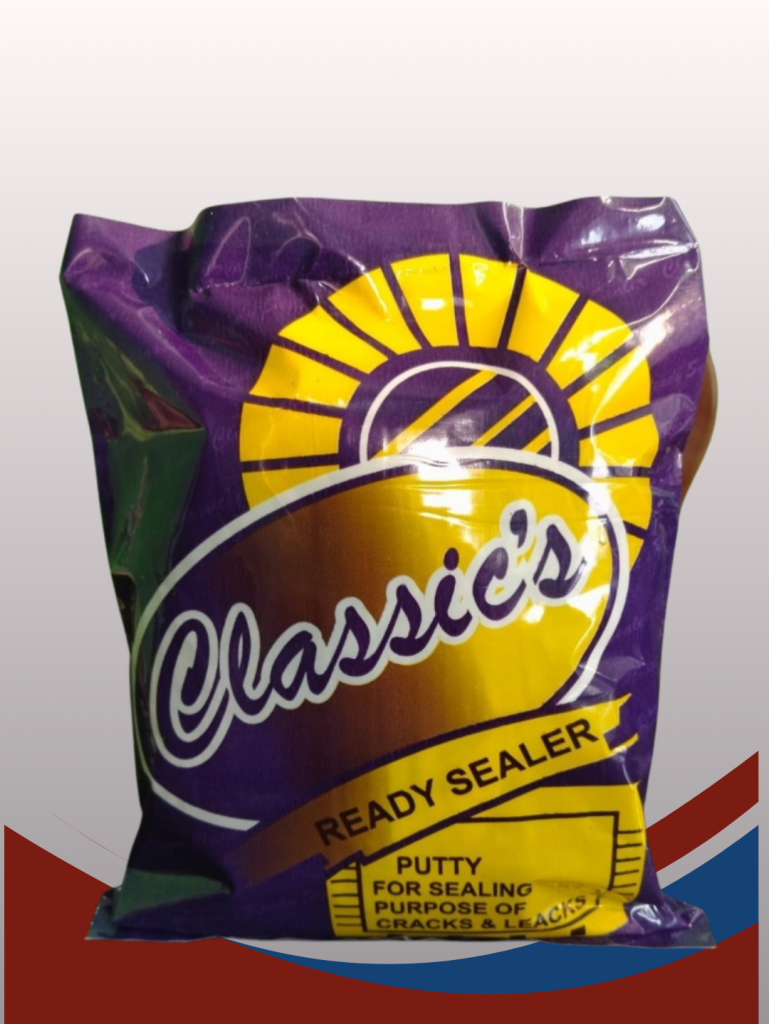
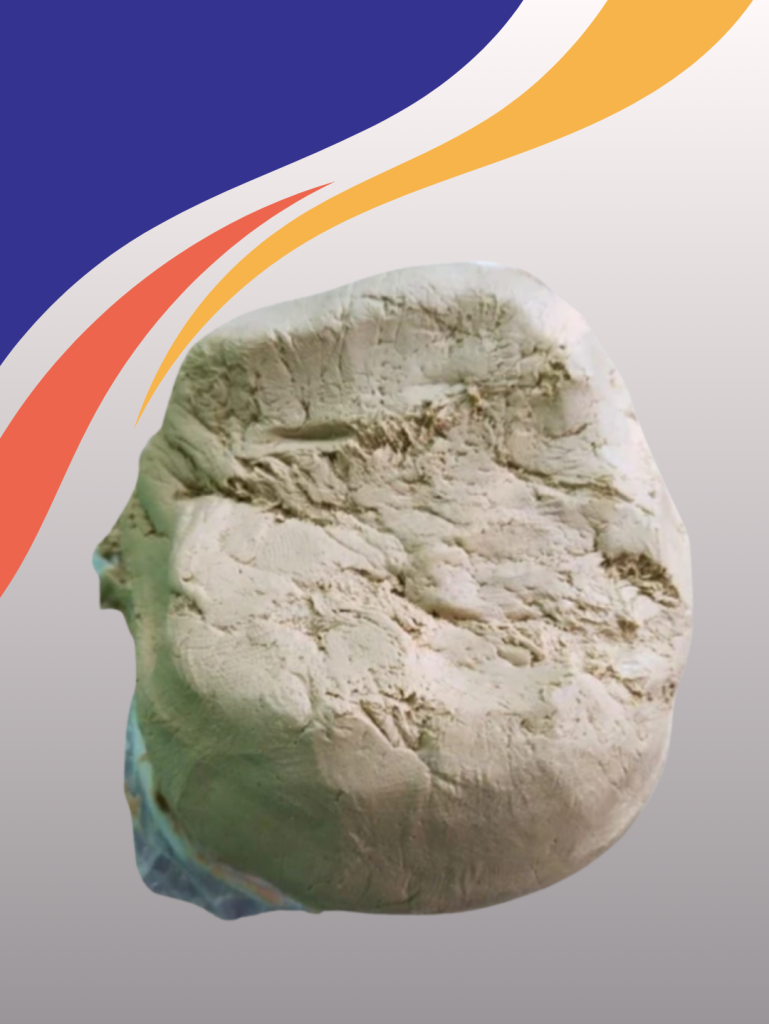

Wall putty is a versatile material used to create smooth and even surfaces on walls before painting. It’s a crucial step in achieving a professional-looking finish. Here are some key features of wall putty:
● Surface leveling: Wall putty effectively fills cracks, holes, and uneven surfaces, creating a smooth base for paint.
● Improved paint adhesion: By providing a uniform surface, wall putty enhances the bond between the paint and the wall, preventing peeling and flaking.
● Enhanced paint finish: A smooth putty layer allows for a more even and uniform paint application, resulting in a better-looking finish.
● Durability: Wall putty adds to the overall durability of the paint job, protecting the wall from moisture and other external factors.
● Reduced paint consumption: A smooth surface requires less paint, making wall putty cost-effective in the long run.
Overall, wall putty is an essential component of any quality painting project, ensuring a
long-lasting and aesthetically pleasing finish
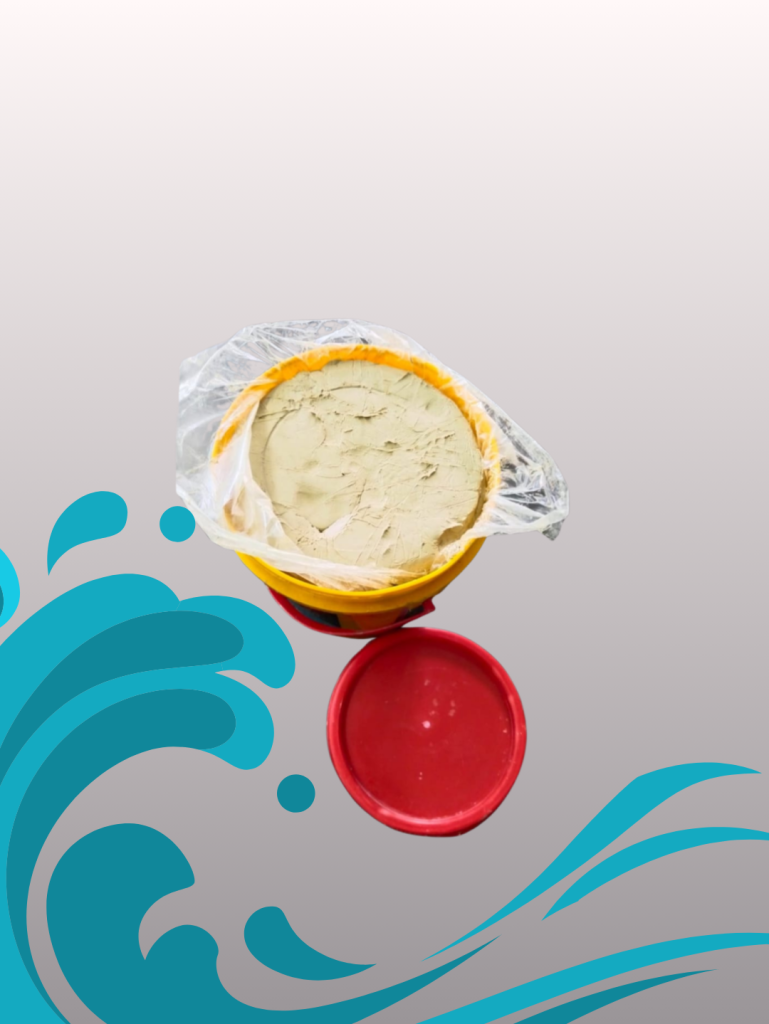
Black putty is a type of modeling compound used for filling gaps, cracks, and holes in various materials. It is a two-part epoxy putty that comes in black color. When mixed together, the two parts react to form a hard, durable substance.
Black putty is commonly used in:
● Modeling: It is a popular choice for model makers and hobbyists due to its ability to be shaped and sculpted into intricate details.
● Repairs: It can be used to repair cracks and holes in metal, wood, and plastic surfaces.
● Automotive: It is often used in automotive repair to fill dents and imperfections in body panels.
Key features of black putty:
● Color: It is black in color, which makes it ideal for filling gaps and cracks in dark-colored
surfaces.
● Hardness: It cures to a hard, durable substance that can be sanded and painted.
● Versatility: It can be used on a variety of surfaces, including metal, wood, and plastic.
● Ease of use: It is easy to mix and apply, and it can be shaped and molded into the desired form.
Overall, black putty is a versatile and useful material for a variety of applications. Its black color,
hardness, and ease of use make it a popular choice for both professional and DIY projects.
Cement paint is a type of coating specifically designed for concrete, masonry, and other porous surfaces. It’s a dry powder that’s mixed with water to form a paint-like consistency. Composition:
● Cement: The primary ingredient, providing strength and durability.
● Water Repellents: These additives help prevent water absorption, protecting the surface from moisture damage.
● Mineral Extenders: These materials increase the volume of the paint while maintaining its properties.
● Lime: Improves workability and adhesion.
● Pigments: These colorants provide the desired hue.
Uses:
● Exterior Walls: Cement paint is commonly used to protect and beautify exterior walls, offering excellent resistance to weathering and moisture.
● Concrete Structures: It can be applied to bridges, pavements, and other concrete structures to enhance their appearance and durability.
● Interior Walls: While less common for interiors, cement paint can be used on interior walls for a unique, textured finish.
Advantages:
● Durability: Highly resistant to moisture, weathering, and abrasion.
● Cost-Effective: Generally more affordable than other types of paint.
● Good Adhesion: Bonds well to concrete and masonry surfaces.
● Easy Application: Relatively simple to apply with proper preparation.
Disadvantages:
● Limited Color Options: Compared to other paints, cement paint offers a more limited range of colors.
● Requires Proper Curing: After application, cement paint needs to be cured with water to achieve maximum strength and durability.
● Can Be Messy: The application process can be messy, requiring careful preparation and cleanup.
Overall, cement paint is a versatile and durable coating option for concrete and masonry
surfaces, offering a balance of protection, aesthetics, and affordability
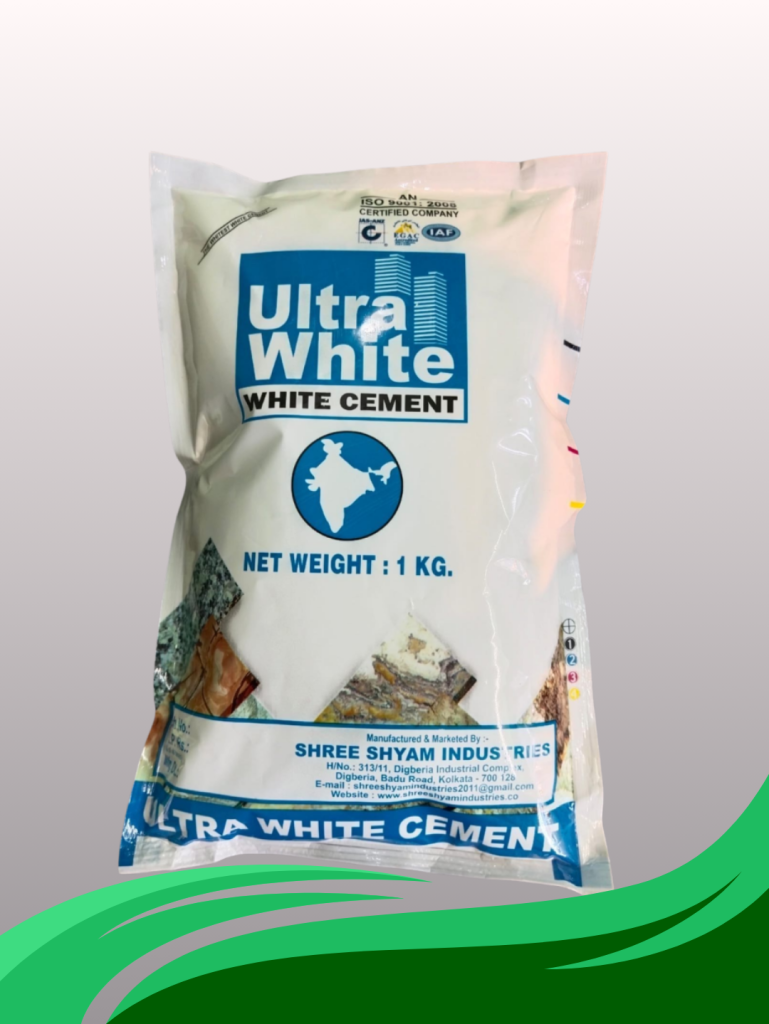
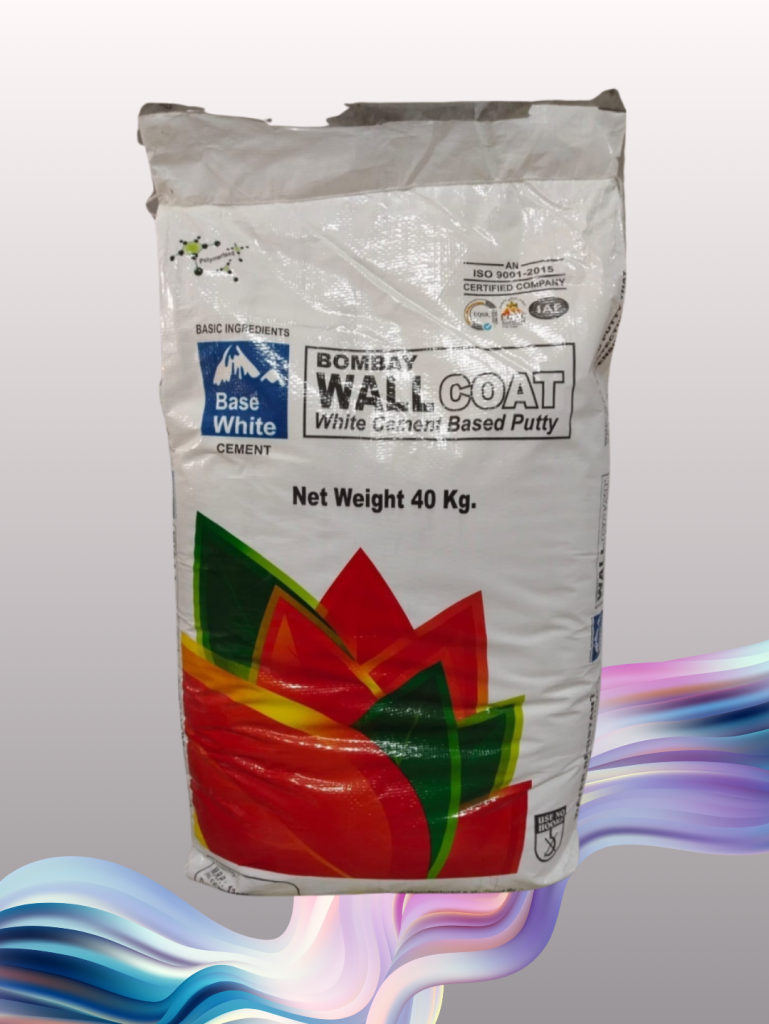
Decorative white cement, also known as white cement, is a type of cement that is specifically designed for decorative applications. It is made from the same raw materials as ordinary Portland cement, but with a higher purity of limestone and a lower iron content. This results in a whiter color and a smoother finish.
Decorative white cement is used in a variety of applications, including:
● Wall finishes: It can be used to create smooth, polished finishes on walls, or it can be mixed with other materials to create textured finishes.
● Flooring: White cement can be used to create decorative floors, such as terrazzo floors.
● Sculptures and other decorative objects: White cement is a popular material for creating sculptures and other decorative objects, due to its versatility and ease of use.
● Garden ornaments: White cement can be used to create a variety of garden ornaments, such as fountains, statues, and planters.
Decorative white cement is a versatile and durable material that can be used to create a wide
variety of decorative effects. It is also relatively easy to work with, making it a popular choice for
both professional and DIY projects.
Tile grouting is the process of filling the gaps between tiles with a special cement-based mixture. It’s a crucial step in any tile installation project, serving both aesthetic and functional purposes. Why is Grouting Important?
● Waterproofing: Grout acts as a barrier, preventing water from seeping into the gaps between tiles and damaging the underlying structure. This is especially important in areas like bathrooms and kitchens.
● Strength and Stability: Grout reinforces the bond between tiles, enhancing the overall strength and stability of the tiled surface.
● Aesthetics: Grout provides a uniform and polished look to the tiled area, enhancing its visual appeal.
● Hygiene: Grout helps prevent dirt and grime from accumulating in the gaps between tiles, making cleaning easier and promoting a healthier environment.
Types of Grout
● Cement-Based Grout: This is the most common type, available in a wide range of colors and suitable for most tile installations.
● Epoxy Grout: More durable and stain-resistant than cement-based grout, it’s ideal for high-traffic areas and those prone to moisture.
● Unsanded Grout: Used for narrow grout lines (less than 1/8 inch), it’s smoother and easier to clean.
● Sanded Grout: Suitable for wider grout lines (1/8 inch or more), it contains sand for added strength and durability.
The Grouting Process
1. Preparation: Ensure the tile surface is clean and free of debris.
2. Mixing: Mix the grout according to the manufacturer’s instructions, typically using a drill with a mixing paddle.
3. Application: Apply the grout to the gaps between tiles using a rubber float, working in small sections.
4. Removal: Remove excess grout from the tile surface with a damp sponge, ensuring the grout lines are filled completely.
5. Cleaning: Clean the tiles thoroughly to remove any grout residue.
6. Sealing: Apply a sealant to the grout to protect it from stains and moisture.
Choosing the Right Grout
The type of grout you choose will depend on factors such as:
● Tile type: The size, shape, and material of the tiles.
● Grout joint width: The size of the gaps between tiles.
● Usage area: The intended use of the tiled surface (e.g., bathroom, kitchen, outdoor).
● Aesthetic preferences: The desired color and finish of the grout.
By understanding the importance of grouting and choosing the right type for your project, you can ensure a beautiful and long-lasting tile installation. Would you like to know more about a specific aspect of tile grouting, such as choosing the right color or applying sealant?
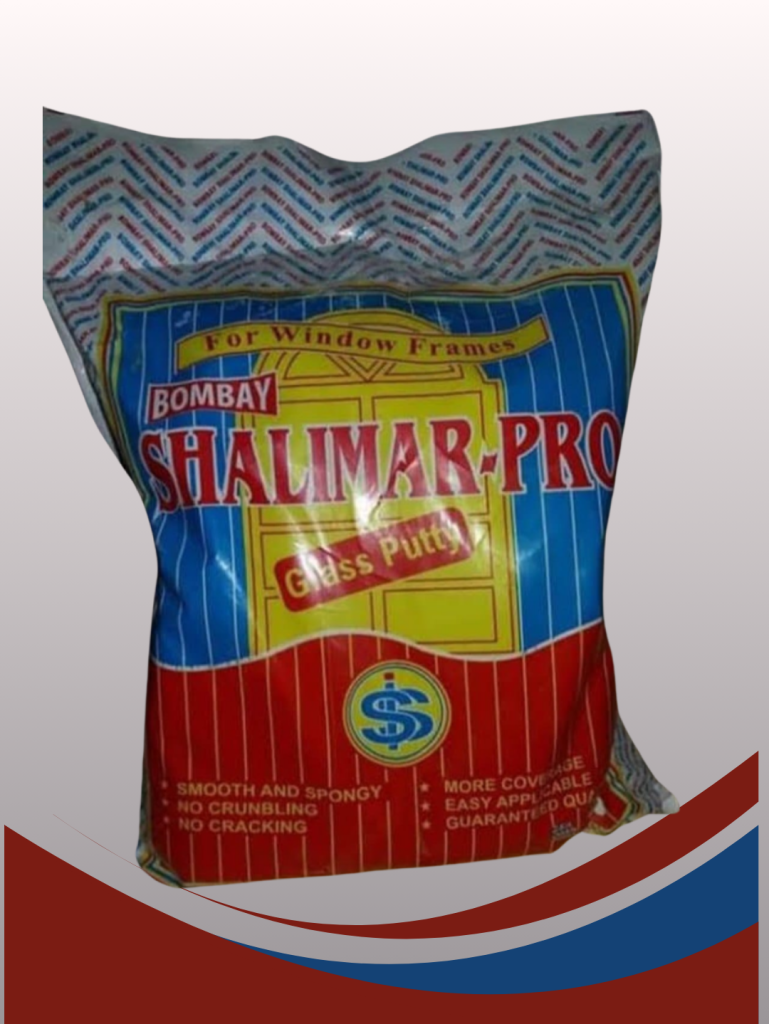
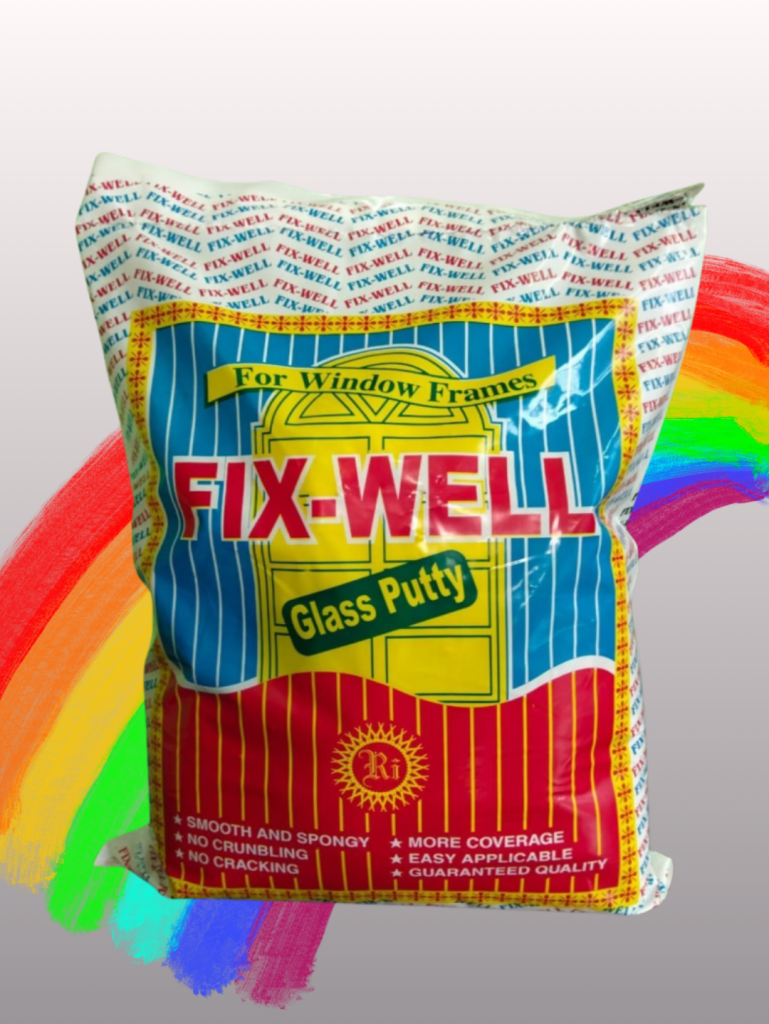
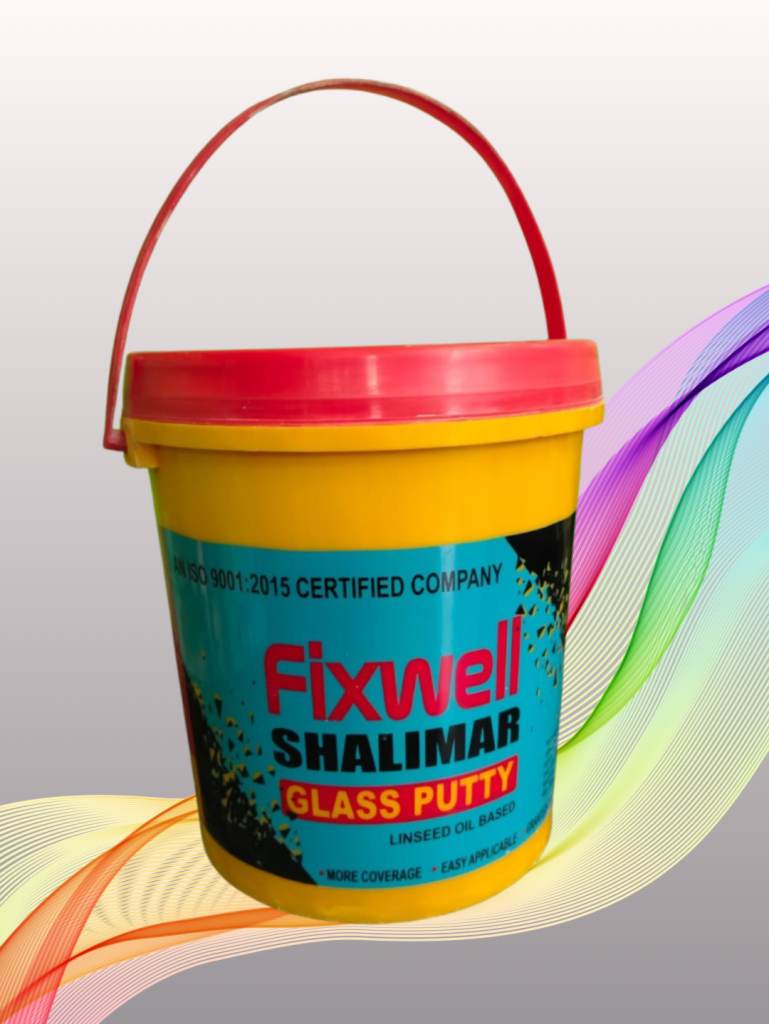
Glass putty, also known as glazing putty, is a flexible, adhesive material used to secure window panes into their frames. It serves two main purposes:
1. Sealing: It creates a tight seal around the glass, preventing drafts, water leaks, and dust from entering your home.
2. Adhesive: It holds the glass firmly in place within the frame. Composition:
Traditionally, glass putty was made from a mixture of whiting (fine chalk) and linseed oil. However, modern formulations often include other ingredients like:
● Synthetic resins: For improved durability and water resistance.
● Pigments: To add color and match the frame material.
Types:
There are two main types of glass putty:
● Oil-based: Made with linseed oil, it’s flexible and easy to work with, but can take longer to cure.
● Solvent-based: Dries faster and is more resistant to cracking, but can be more difficult to apply.
Application:
1. Clean the frame: Remove any old putty, paint, or dirt from the window frame.
2. Prepare the putty: Knead the putty until it’s pliable and smooth.
3. Apply the putty: Press the putty into the frame, ensuring it fills the gap around the glass.
4. Insert the glass: Carefully place the glass pane into the frame, pressing it firmly into the putty.
5. Smooth the putty: Use a putty knife to shape and smooth the putty around the glass.
6. Clean up: Wipe away any excess putty with a damp cloth.
Additional Tips:
● Wear gloves: Glass putty can be messy, so it’s best to wear gloves while working with it.
● Work in a well-ventilated area: Some glass putties release fumes, so it’s important to work in a well-ventilated area.
● Allow for curing time: The putty needs time to cure, so avoid opening or closing the window for a few days.
Let me know if you’d like more details on any specific aspect of glass putty!

©2024 Shree Shyam Industries, All Rights Reserved.
WhatsApp us